The Right Way to do Pigeon Pose Correctly, for all the Mind-Body Benefits
 I’ve achieved a few yoga courses up to now, which I beloved, however I’ve since then moved to country side the place yoga instructors are only a few and far in between. Then attempt to do that similar action with the fingers off of the floor. With the suitable knee forwards, arms on the floor in entrance of the body, and right hip on the flooring, lean the physique to the left far sufficient that the fitting hip comes off of the floor. Yoga comes up with totally different postures that can help in building energy in the body, toning the physique, making improvements and it additionally helps in enhancing bone density in the body. This is one thing that you are able to do in almost all variations of yoga pigeon pose. Another drawback that beginners have in yoga pigeon pose is that they’ve difficulty supporting the entrance leg hip. One frequent drawback beginners have in yoga pigeon pose is positioning the front knee. Some teachers may say your shin must be parallel to the front of your mat in pigeon pose, but in my expertise as a yoga instructor, so long as your hips are squared to the entrance, that is what issues most.
 I had executed yoga a few years prior, so I wasn’t a total newbie, and my Japanese was at a high enough stage that I felt pretty assured I could handle a yoga class in Japanese. I hope that now you’re feeling able to get began by yourself Japanese yoga journey! Now you may have to use the muscles of the entrance leg to raise the pelvis. Press down with sufficient strain to carry your entrance leg hip. 3. Bring your back leg all the way down to the mat, and lift your chest, holding your hips in one line. Come again into downward dog, then repeat on the alternative facet. Return to the beginning and then repeat a couple of occasions. Change legs and repeat with the other leg. Lean your ribcage simply far enough that you can easily use you leg to help raise your pelvis. Lean your ribcage to the left and as you accomplish that use your outer hip muscles to press the front knee down into the ground. You’ll be able to keep your upper physique in an upward, sitting position (a true Pigeon pose) or you may lean forward, resting over the bent leg (half Pigeon pose).
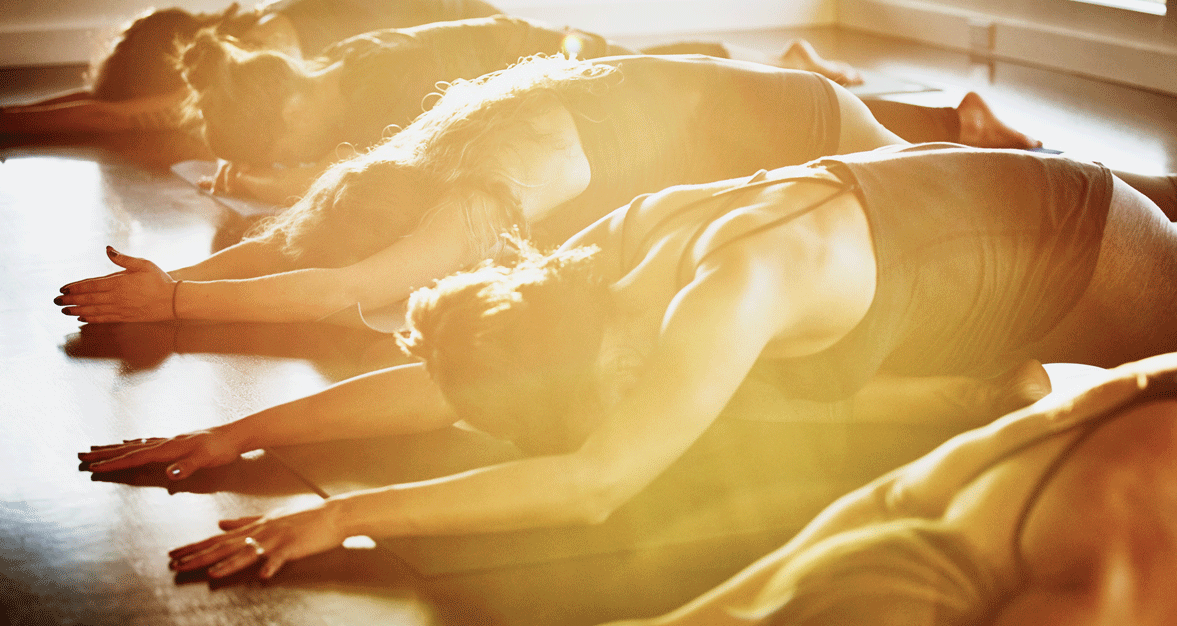
I exploit the next hip lifting exercise to show them how to use their front leg hip. Then see if you possibly can slowly lower the hip again down. 5. Hold for as many breaths as you would like, then peel your physique again up. Also, reach the rear leg backwards and level the again knee down. If you’re struggling to get comfortable in this posture, it may also help to situate a block or bolster beneath the hip of your entrance leg. Initially, this pose is a significant hip opener, which you will undoubtedly really feel if you give it a attempt. As you do so, make your waist really feel lengthy. Breathe deeply into the sensation of the stretch in your hips, and don’t really feel the necessity to remain longer than is snug. This juicy stretch acts as a coronary heart opener, affords a tremendous stretch for both the hips and low back, and is an ideal addition to yin and yang yoga flows.
Listed below are just a few poses which can be easy to do as you begin your journey into yoga. Of all the yoga poses on the market, there’s a motive pigeon pose (or Kapotasana in Sanskrit) stands out as a favorite to many. Will pigeon pose additionally help relieve that? A variation that helps with this is Supported Pigeon pose. Once you might be able to take care of a stable basis in upright pigeon pose you can experiment with taking the fingers off of the floor and retaining them lifted. With your fingers on the flooring in entrance of your pelvis (position them in an effort to push your hands forwards towards the floor) you need to use your arms to help create a backwards push in your ribcage and pelvis. Instructions: Lie on your again flat on the ground. Keep your weight on the forward foot and the ball of the foot at the back.